Studio Ghibli films hold a special place in our hearts, and among them, “Kiki’s Delivery Service” shines particularly bright. The story of a young witch embarking on her own, accompanied by her witty black cat, Jiji, resonates with audiences of all ages. Our family’s love for Ghibli led us to an exciting cosplay adventure, diving into the whimsical world of Kiki and her feline companion. Today, we’re focusing on one of the most iconic elements of Kiki’s look: her oversized red bow. But first, let’s take a trip down memory lane to our family’s Ghibli-inspired adventures.
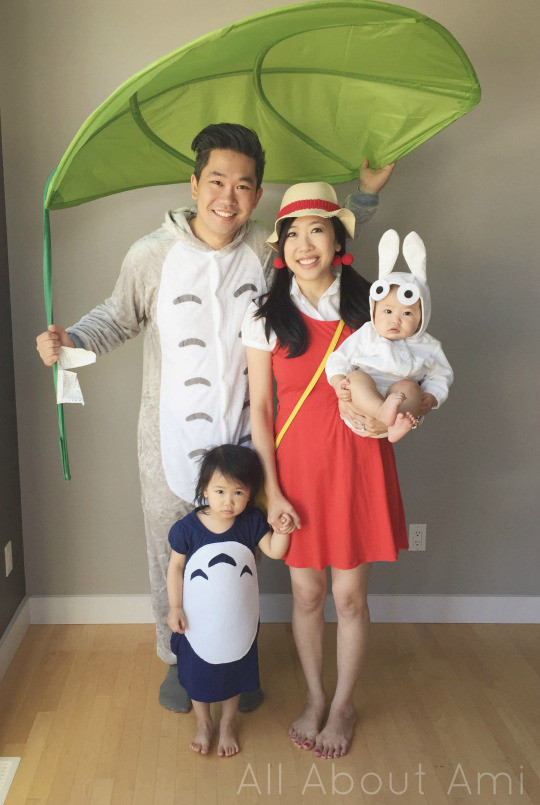 Family cosplay as characters from Studio Ghibli's Totoro, showcasing their handmade costumes and accessories.
Our family cosplay journey is a cherished tradition, and last year, we embraced the enchanting world of “My Neighbor Totoro.” It’s amazing to look back at photos and see how little the girls were then, sporting adorable Totoro-themed outfits. I even crocheted little red balls to match Totoro for my ponytails and hat, adding a personal touch to our ensemble.
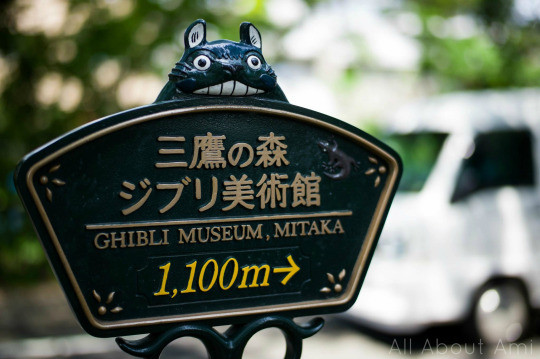
Our fascination with Studio Ghibli runs deep. Years ago, my husband Ryan and I had the incredible opportunity to visit the Ghibli Museum in Japan. Stepping into that world was truly magical. We explored fascinating exhibitions, admired breathtaking artwork, and relaxed in the serene rooftop garden.
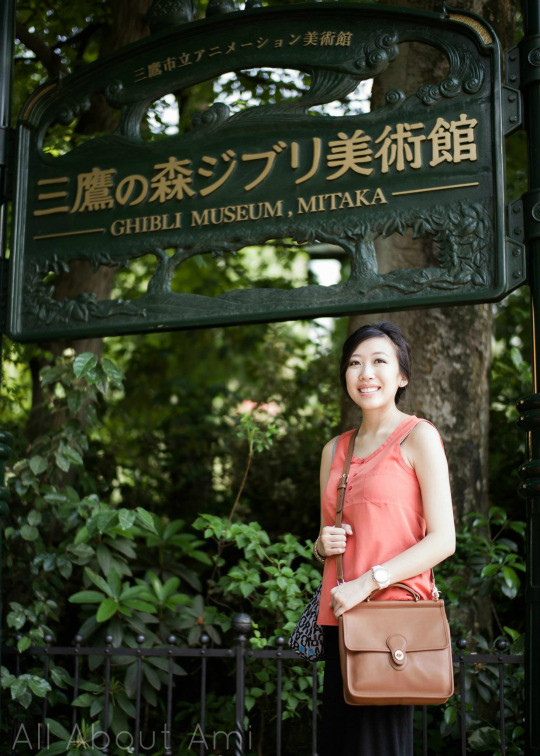
 Couple visiting the Ghibli Museum in Japan, posing in the rooftop garden with greenery and architectural elements visible.
This trip to Japan was extra special as it was also our “babymoon” when I was pregnant with our daughter, Myla! The Ghibli Museum is a treasure trove for fans, and while photos weren’t allowed inside the museum itself, the rooftop garden was an exception.
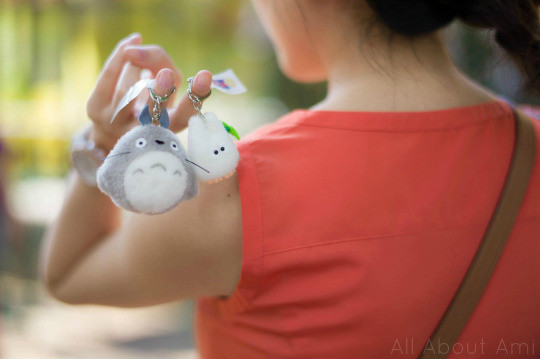
 Pregnant woman in the rooftop garden of the Ghibli Museum, holding Totoro souvenirs and smiling amidst the garden's features.
Fans of “Laputa: Castle in the Sky” will instantly recognize iconic elements in the garden, bringing the animated world to life.
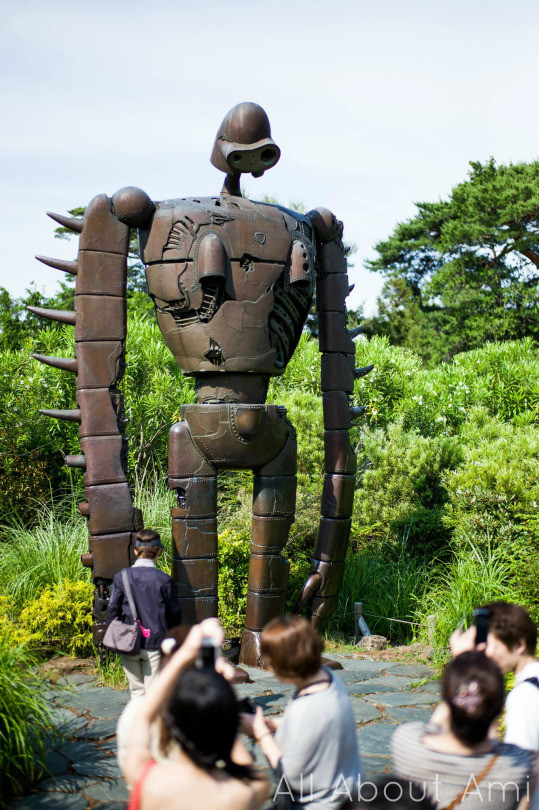 Rooftop garden at the Ghibli Museum featuring a statue inspired by "Laputa: Castle in the Sky" with intricate details and lush surroundings.
Of course, I couldn’t resist picking up some Totoro souvenirs during our visit! Inside the museum, a delightful surprise awaited: a catbus play area designed for children. We knew then that we had to return with our daughters someday, as they would absolutely adore it.
 Display of Totoro themed souvenirs purchased at the Ghibli Museum, showcasing plush toys and figurines on a table.
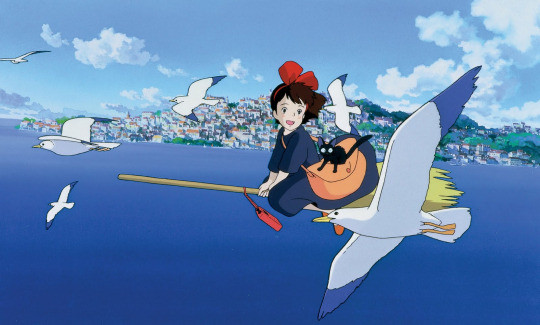
Another Studio Ghibli masterpiece that captivates us is “Kiki’s Delivery Service.” This heartwarming 1989 film tells the story of Kiki, a young witch who ventures to a new city to establish her independence and start a delivery service. Her faithful companion throughout this journey is her black cat, Jiji, a quintessential Kiki’s Delivery Service cat. For our family cosplay, we decided to bring the characters of Kiki’s Delivery Service to life. Kiki’s signature look is instantly recognizable: a large red bow headband, a simple black or navy dress, a practical brown satchel, and comfortable red shoes.
 Cosplayer dressed as Kiki from Kiki's Delivery Service, wearing a large red bow, black dress, and holding a brown satchel.
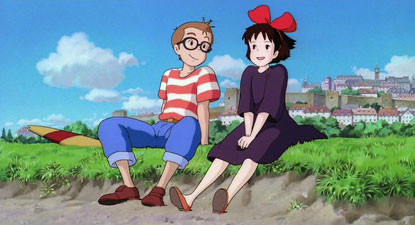
Kiki’s charming love interest, Tombo, sports a red and white striped shirt, black glasses, blue jeans, and brown shoes. The movie also features two adorable cats: Lily, a fluffy white cat, and of course, Jiji, the iconic black cat from Kiki’s Delivery Service.
 Cosplayer dressed as Tombo from Kiki's Delivery Service, wearing a red and white striped shirt and black glasses, standing next to Kiki.
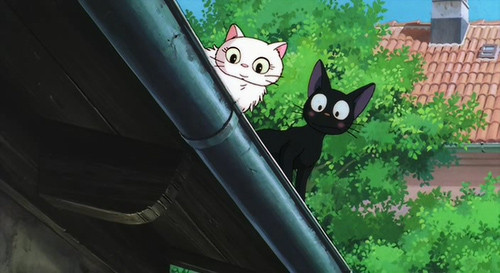 Image showcasing the two cats from Kiki's Delivery Service: Lily, a white cat, and Jiji, a black cat, highlighting their contrasting appearances.
To truly embody Kiki, I knew I had to create her distinctive oversized red bow headband. Luckily, I had some experience crocheting headbands before, having made a Minnie Mouse Ears Headband for our trip to Tokyo Disneyland!
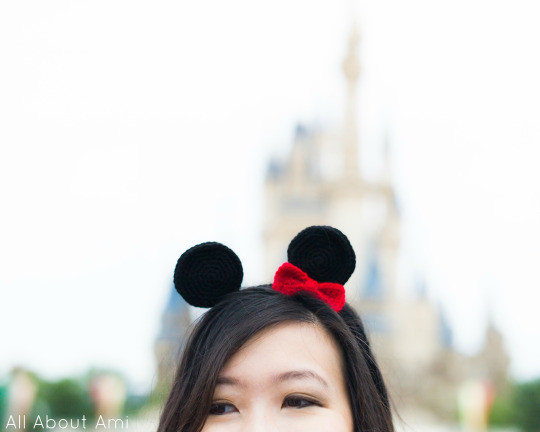 Crocheted Minnie Mouse ears headband in red and black, displayed as an example of previous headband crafting experience.
This time, however, the challenge was to create a much larger, more dramatic bow to perfectly capture Kiki’s look. For the vibrant red color, I chose Lion Brand Yarn’s Vanna’s Choice in “Scarlet.” This yarn is perfect for achieving that bright, eye-catching red crucial for Kiki’s signature bow.
 Skein of bright red Lion Brand Vanna's Choice yarn in "Scarlet" color, labeled and ready for crocheting.
DIY Kiki’s Delivery Service Bow Headband: Free Crochet Pattern
Here’s how you can crochet your own Kiki-inspired bow headband, ensuring your Kiki cosplay is purr-fectly on point, especially if you want to channel the magic of Kiki’s Delivery Service cat!
Materials:
- Lion Brand Yarn’s Vanna’s Choice in “Scarlet”
- 2.75 mm crochet hook
- Yarn needle
- Headband (with “teeth” for better grip)
- Hot glue gun (optional, for extra security)
Rectangle (Bow):
This section creates the main bow shape.
- Row 1: Foundation single crochet 30 stitches (30 sts). This determines the height of your bow.
- Row 2: Chain 1, turn. Single crochet 30 stitches (30 sts).
- Rows 3-48: Repeat Row 2. Each row adds to the width of the bow.
- Do not cut yarn. Single crochet around the entire border of the rectangle, working 3 single crochets in each of the four corners to create smooth edges.
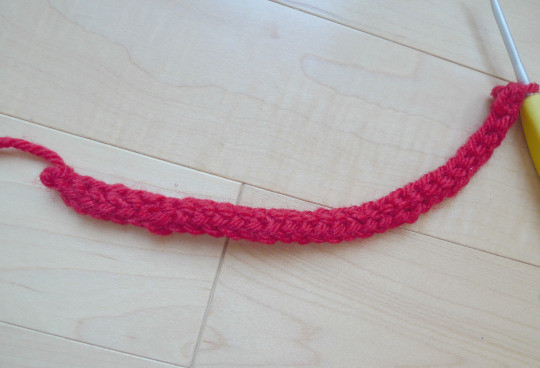 Close-up of the foundation single crochet row in bright red yarn, showing the beginning of the bow construction.
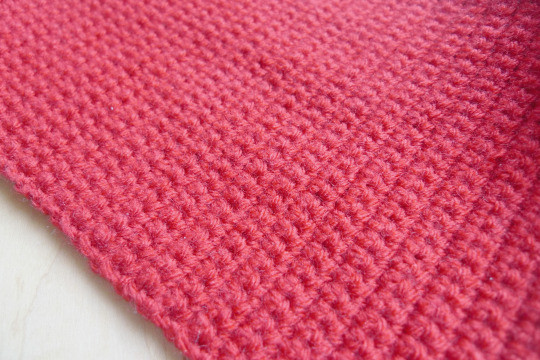
Tight stitches are key! Using a 2.75 mm hook helps create dense stitches, giving the bow stiffness and allowing it to hold its shape beautifully without needing wire.
 Close up view of tight and even crochet stitches in red yarn, highlighting the neat texture of the fabric.
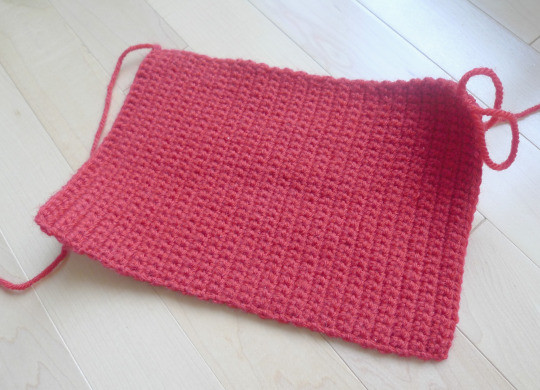
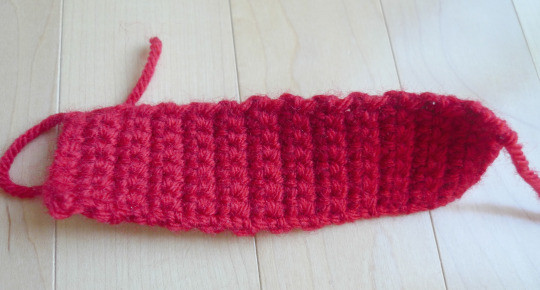
After 48 rows, the rectangle should be wide enough for a substantial bow.
 Completed rectangle panel of red crochet fabric, showing the width achieved after crocheting multiple rows.
Smoothing the edges with a single crochet border gives a polished finish.
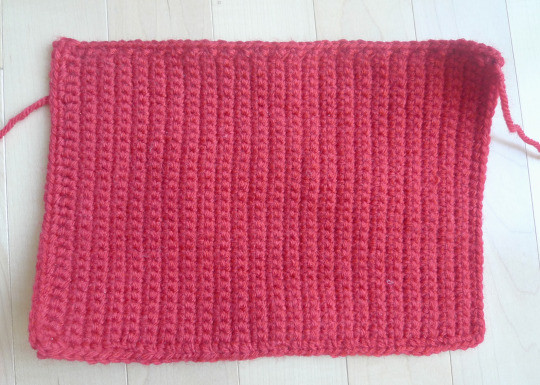 Close up of the single crochet border around the red rectangle, illustrating how it neatens the edges of the bow piece.
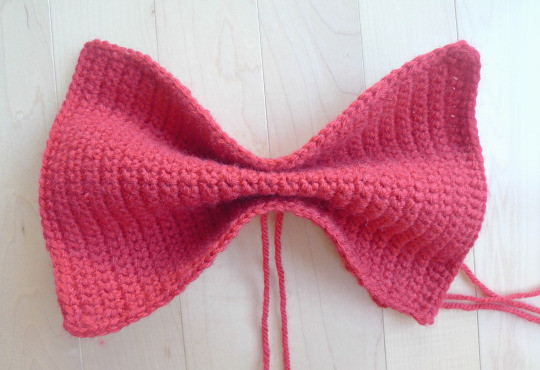
Shaping the Bow:
- Pinch the crocheted rectangle in the middle to form the bow shape.
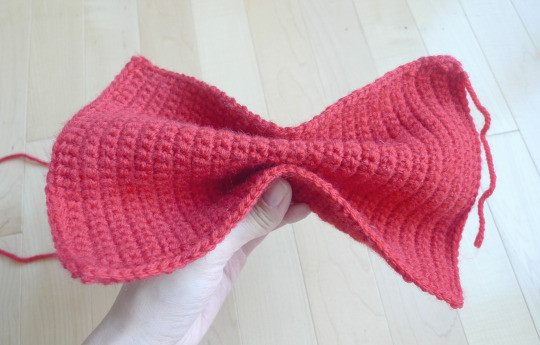 Hands pinching the red crocheted rectangle in the center to demonstrate how to shape it into a bow.
- Thread your yarn needle and pass the yarn upwards through the center of the pinched rectangle.
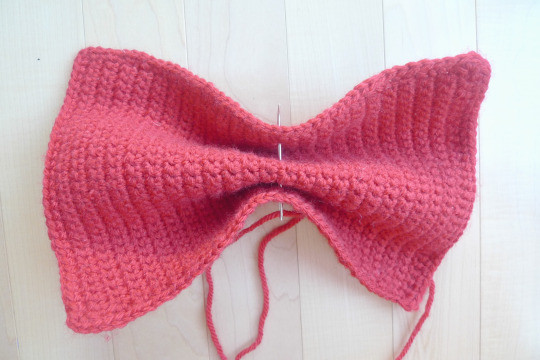 Yarn needle being threaded through the center of the pinched crochet bow to secure its shape.
- Then, pass the needle back down through the center, securing the pinch.
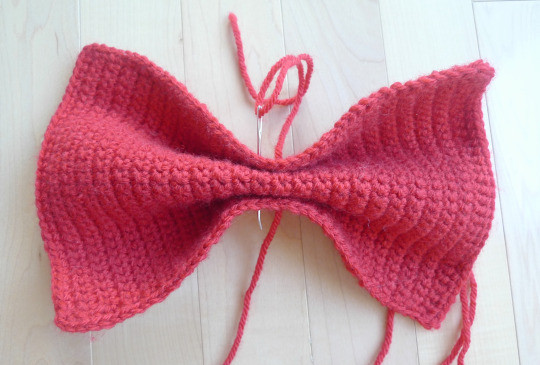 Yarn needle being passed back down through the center of the crochet bow, tightening the yarn to hold the shape.
- Tie several tight knots to firmly hold the bow shape.
 Close-up of knots being tied tightly at the center of the crochet bow to maintain its form.
Middle Knot:
This strip will wrap around the center of the bow and headband.
- Row 1: Foundation single crochet 8 stitches (8 sts).
- Row 2: Chain 1, turn. Single crochet 8 stitches (8 sts).
- Fasten off, leaving a long tail of yarn for sewing.
 Narrow strip of red crochet fabric for the middle knot, shown with a yarn needle to prepare for assembly.
Headband Covering:
- Crochet around your headband. For a detailed tutorial on how to crochet around a headband, you can refer to my Minnie Mouse Headband post. Using a headband with “teeth” helps grip the yarn and prevents slipping. Secure the yarn ends to the headband using hot glue for extra hold.
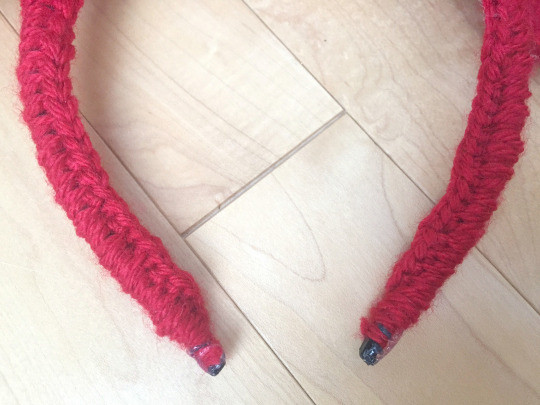 Headband being crocheted over with red yarn, demonstrating the process of covering the headband for the bow attachment.
Assembly:
- Place the pinched bow on top of the covered headband.
- Wrap the middle knot strip around both the bow and the headband.
- Sew the ends of the middle knot together securely.
- For added durability, use hot glue to further secure the bow and middle knot to the headband.
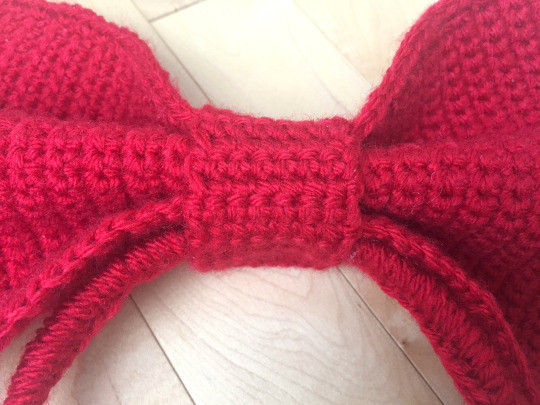 Finished Kiki bow headband with the red bow securely attached to the headband with the middle knot, ready to wear.
I was thrilled with how well the bow headband held its shape! We initially considered using wire for structure, but the tight crochet stitches provided ample stiffness.
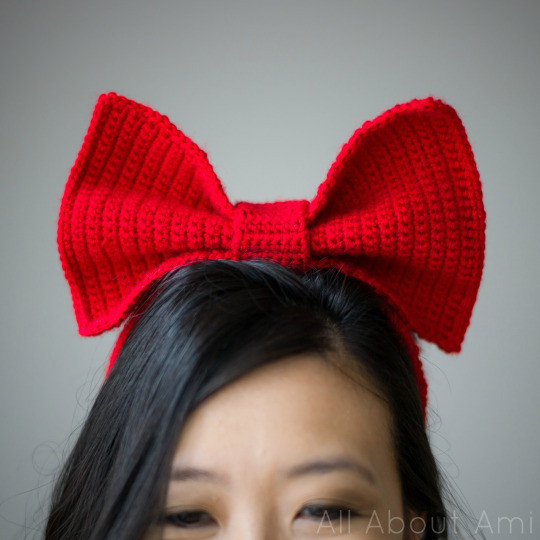 Cosplayer wearing the finished Kiki bow headband, showcasing its shape and vibrant red color as part of the Kiki costume.
Finding the perfect dress was surprisingly easy! I found a navy blue dress at Forever 21 for under $20, and comfortable red flats for just $15, also from Forever 21. My brown satchel is an old favorite from Coach, and Ryan found a wooden broom at a Halloween store to complete the Kiki look. For our daughters, we found adorable cat shirts at Old Navy, tutus at Walmart, and cat ears from H&M and Claire’s. Finding a red and white striped shirt for Ryan’s Tombo cosplay proved more challenging – apparently, Waldo isn’t always in style! We ended up purchasing a Waldo costume to get the right look.
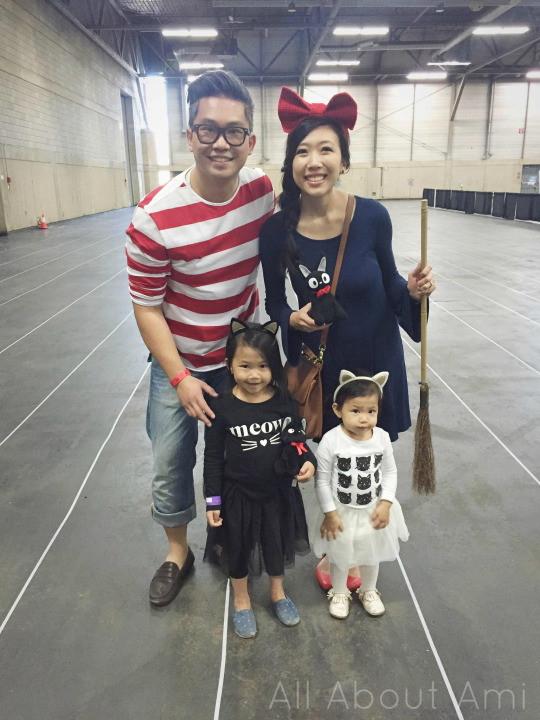
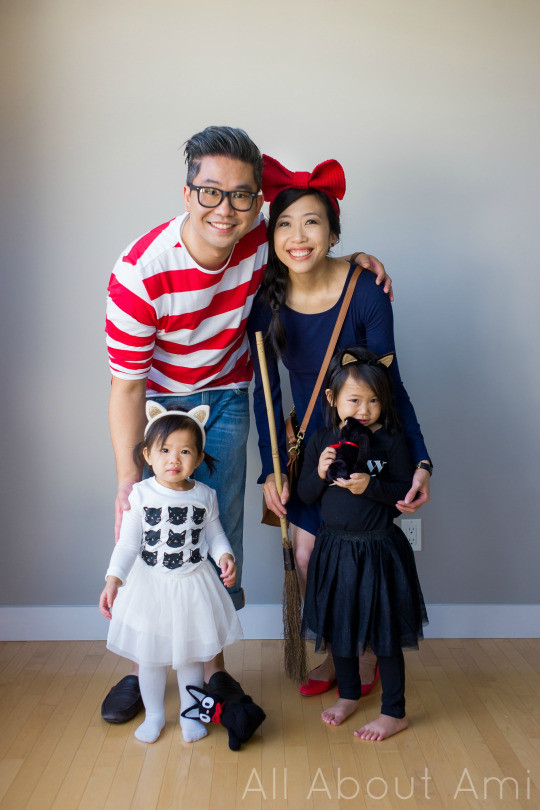 Family dressed in Kiki's Delivery Service cosplay, including Kiki, Tombo, and two children dressed as black cats, posing together.
The girls were so excited to dress up as cats from Kiki’s Delivery Service! We prioritized comfort for them, so they could move and play easily in their tutus.
 Close up of two young girls dressed as black cats from Kiki's Delivery Service, wearing cat ears and tutus, smiling and enjoying the cosplay.
Putting together this family cosplay using items from our closets and the mall was a fun and rewarding experience. I’m especially proud of my handmade crochet bow headband. I love how it turned out, and I hope this pattern inspires you to create your own Kiki bow, whether for cosplay or just a fun, whimsical accessory – perhaps even for a trip to Disney parks! Imagine the magic of Kiki’s Delivery Service cat accompanying you in spirit as you wear this bow!
 Cosplayer in full Kiki costume, including the handmade bow headband, smiling confidently and showcasing the complete look.
And if you’re a true “Kiki’s Delivery Service” enthusiast, don’t forget to check out my blog post about crocheting your own Jiji amigurumi! The pattern is simple, and the result is undeniably adorable. Bring the complete Kiki’s Delivery Service cat experience to life by crafting both the bow and Jiji!
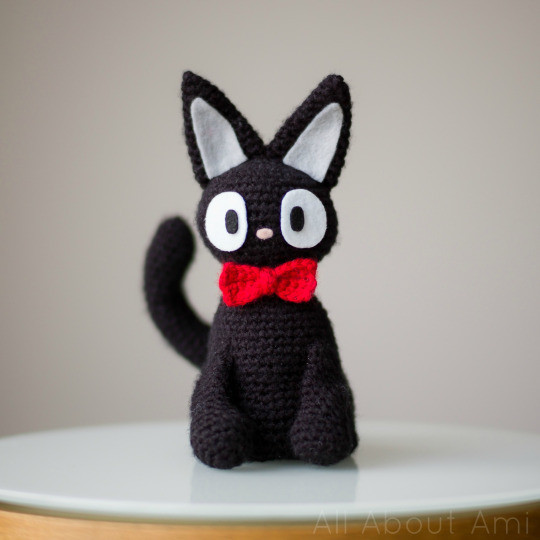 Close up of a handmade Jiji amigurumi, a small black cat with red eyes, sitting and looking cute, promoting the Jiji crochet pattern.
We had so much fun bringing our Kiki’s Delivery Service family cosplay to life! Dreaming up costume ideas and putting them together is always a highlight for us. Do you have any family or group costume plans for Halloween or cosplay events? Let us know in the comments!